

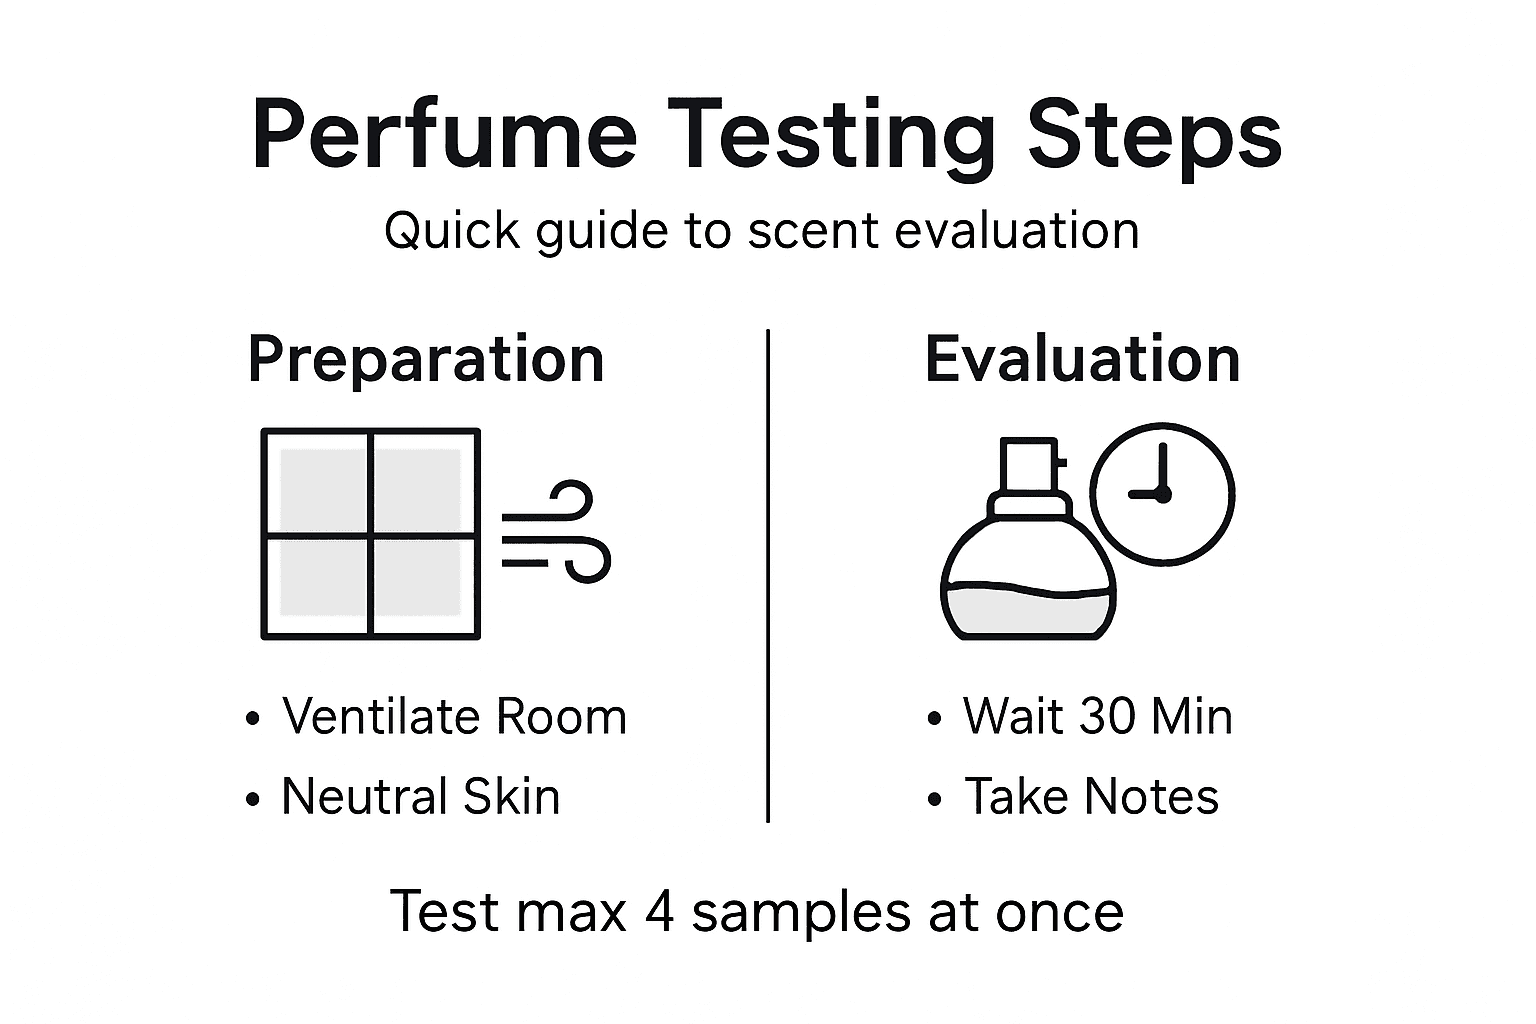
How to Test Perfumes Correctly for Perfect Scent Matches

Selecting a new fragrance should be a pleasure, not a gamble with your budget. Many frugal scent lovers know the frustration of falling for a perfume that disappoints once it arrives. Getting the most from niche fragrance samples requires more than just curiosity. By focusing on a good ventilation and neutral conditions for your testing space, you will avoid wasted samples and truly discover scents that fit your style and expectations.
Table of Contents
- Step 1: Prepare Your Scent Testing Environment
- Step 2: Select and Apply Perfume Samples Properly
- Step 3: Allow Scents to Develop on Your Skin
- Step 4: Evaluate and Compare Fragrance Results
Quick Summary
| Key Point | Explanation |
|---|---|
| 1. Create a Neutral Testing Environment | Use a well-ventilated room with stable temperature and no competing odors to accurately assess fragrances. |
| 2. Limit Sample Selections for Clarity | Choose 3 to 5 fragrance samples for testing to avoid sensory overload and facilitate better comparisons. |
| 3. Allow Time for Fragrance Development | Wait at least 30 minutes to evaluate how a fragrance evolves on your skin before making judgments. |
| 4. Take Detailed Notes During Testing | Document your impressions, scent evolution, and preferences to aid in making informed purchasing decisions. |
| 5. Evaluate Samples Objectively | Use a comparison framework with criteria such as longevity and emotional response to narrow down your choices effectively. |
Step 1: Prepare Your Scent Testing Environment
Your testing space makes or breaks your fragrance discovery. A poorly chosen room will distort your perception and waste both time and money on samples that might actually be perfect for you. Let’s set up an environment where your nose can do its job accurately.
Start by finding a room with good ventilation and neutral conditions. You want a space that’s neither too warm nor too cold, and ideally one that isn’t drenched in competing odors. Kitchens, bathrooms, and rooms with strong air fresheners are off-limits. A bedroom, office, or living room works best.
Proper ventilation and temperature control prevent scent cross-contamination and give you accurate results. Open a window slightly if needed, but avoid direct drafts that might carry external odors inside. You’re aiming for fresh air without chaos.
Here’s what your testing space needs:
- Neutral odor profile with no competing scents lingering in the air
- Stable temperature between 65-75 degrees Fahrenheit
- Low humidity to prevent moisture from altering fragrance composition
- Minimal air movement once you start testing, so scents linger on your skin naturally
- Clean surfaces free of dust, perfumes, or residual cooking smells
Cleanliness matters more than you’d think. Dust particles and surface odors can interfere with your olfactory perception. Wipe down any surfaces you’ll be using and ensure your testing clothes are freshly laundered without heavy fabric softener.
Timing also affects your environment’s effectiveness. Test during cooler parts of the day when temperatures are stable. Morning or early evening is ideal. Avoid testing right after cooking or when windows are open to busy traffic.
Here’s a summary of common testing environment mistakes and how to avoid them:
| Mistake | Impact on Testing | Solution |
|---|---|---|
| Testing in kitchen or bathroom | Distorted scent perception | Use neutral rooms like bedrooms or offices |
| Open windows during testing | External odors interfere | Only ventilate before testing begins |
| Testing when room is too warm | Scent develops incorrectly | Maintain 65-75°F temperature |
| Residual cleaning smells | Scent profile is masked | Clean with unscented products |
| Testing post-cooking | Odors linger, confusing scents | Test during cooler, odor-free times |
Your testing environment should feel like a blank canvas for scent, not a scent battle zone.
Once your space feels neutral and calm, you’re ready to bring in your fragrance samples. Your nose will thank you for the controlled setting.
Pro tip: Keep your testing room closed for 30 minutes before you start, allowing any lingering odors to settle and your space to reach temperature equilibrium—this consistency makes comparing different fragrances much easier.
Step 2: Select and Apply Perfume Samples Properly
Chosen the right sample is half the battle. You need to understand which fragrances match your preferences before committing to a full bottle. This step shows you how to pick samples strategically and apply them correctly for accurate evaluation.
Start by identifying 3 to 5 samples that appeal to you based on scent profiles and reviews. Don’t grab every sample available. Too many options create sensory overload and make comparison impossible. Focus on fragrances with similar notes or those that contrast sharply, so you can understand what you actually like.
When you’re ready to test, how to test perfume samples for the best match depends on proper application technique. Apply each sample to a different area of your skin. Your wrists, inner elbows, and behind your ears are ideal because these spots have higher skin temperature, which helps fragrance develop naturally.
Here’s your application strategy:
- Apply one sample per body location to avoid mixing scents
- Use a single spray or dab per area, not multiple applications
- Wait at least 2-3 minutes between testing different fragrances
- Don’t rub your wrists together after applying, as friction breaks down fragrance molecules
- Let each scent settle for 5-10 minutes before evaluating its true character
Spacing matters because your nose needs time to adjust. If you test too rapidly, everything blurs together and you’ll miss the nuances that make each fragrance unique. This is especially important for your target audience seeking niche fragrances where subtle differences define the experience.
Keep notes while testing. Write down first impressions, how the scent evolves over time, and whether it matches your expectations. Your memory will fade quickly without documentation.
Quality testing requires patience, not speed. Rush through samples and you’ll waste money on mismatches.
Pro tip: Test no more than 3-4 samples in a single session to avoid olfactory fatigue, which occurs when your nose becomes temporarily desensitized to scent and can’t accurately evaluate fragrances.
Step 3: Allow Scents to Develop on Your Skin
Fragrance is not static. It transforms over time as it interacts with your body chemistry, and judging a scent too early will give you a false impression. This step teaches you how to wait patiently and observe the fragrance journey.
Most fragrances follow a three-phase progression called the scent pyramid. The top notes appear immediately and last 5 to 15 minutes. These are usually bright, citrusy, or fresh scents that catch your attention first. Don’t make judgments yet. Your nose is experiencing the opening act, not the full performance.

The heart notes emerge around the 15 to 30 minute mark and define the fragrance’s true character. This is where niche fragrances really shine, revealing their complexity and depth. Allow perfume samples to settle properly so you can evaluate these middle notes accurately.
Here’s what happens during the development timeline:
- Minutes 0-15: Top notes dominate, creating the first impression
- Minutes 15-30: Heart notes emerge and become the primary scent
- Minutes 30-60 plus: Base notes anchor the fragrance and reveal longevity
- 2-4 hours: Full sillage and lasting power become clear
During this waiting period, go about your routine naturally. Walk around, let your skin temperature warm the fragrance, and allow the scent molecules to settle. Sitting perfectly still won’t help. Movement actually helps fragrance develop more naturally.
Resist the urge to sniff constantly. Over-analyzing makes your nose fatigued and distorts your perception. Check in with your scent every 5-10 minutes instead of obsessing over it continuously.
Patience separates real fragrance appreciation from impulsive buying decisions.
By the time you reach the 30-minute mark, you’ll have a much clearer picture of whether this fragrance genuinely matches your preferences or feels off. This extended observation window prevents costly mistakes that frugal fragrance shoppers work hard to avoid.
Pro tip: Test fragrances during the morning or early afternoon when your olfactory senses are freshest, and avoid testing multiple scents within a short timeframe so you can accurately track how each one develops on your skin.
Step 4: Evaluate and Compare Fragrance Results
Now comes the critical moment: deciding which fragrances actually work for you. You’ve waited, you’ve observed, and you’ve gathered information. This step teaches you how to analyze your findings objectively and make smart purchasing decisions.
Pull out your notes from the testing session. Review your initial impressions, how each scent evolved, and which ones lingered longest on your skin. Your written observations are more reliable than memory. This is especially valuable for frugal shoppers comparing multiple samples before investing in a full bottle.
Start by identifying which fragrances passed your core requirements. Did they match the scent profile you expected? Did they develop in ways that appealed to you? Did they last long enough to justify the price point? Comparing fragrance samples systematically helps you avoid emotional decisions based on marketing hype alone.
Create a comparison framework using these criteria:
- First impression strength (does the opening grab you or feel weak?)
- Heart note appeal (does the middle phase deliver what you want?)
- Longevity and sillage (does it last and project appropriately?)
- Skin chemistry match (does it smell better or worse on your skin?)
- Price-to-quality ratio (does the cost match the performance?)
- Overall emotional response (would you wear this regularly?)
Be honest about emotional reactions. That fragrance everyone raves about online might genuinely feel wrong on your skin. That’s not a failure. That’s valuable self-knowledge that prevents wasted money.
Narrow your list to your top 2-3 finalists. These are the fragrances that checked multiple boxes and felt genuinely good on you. Don’t feel pressured to love every sample you test.
Use this table to objectively compare perfume samples during evaluation:
| Criteria | Sample 1 | Sample 2 | Sample 3 |
|---|---|---|---|
| Opening Impression | Energizing citrus | Sweet floral | Spicy woodsy |
| Heart Note Character | Herbal, refreshing | Creamy vanilla | Smoky incense |
| Longevity on Skin | Fades after 3 hrs | Lasts 7 hours | Stays all day |
| Skin Chemistry Match | Slightly sour | True to bottle | Enhances warmth |
| Price/Value | Expensive sample | Affordable option | Premium price |
| Emotional Response | Not memorable | Uplifting, bright | Comforting, bold |
Real fragrance testing reveals your authentic preferences, not what marketers want you to like.
Once you’ve identified your winners, you’re ready to make purchase decisions with confidence. You’ve done the work. You understand what works for you.
Pro tip: Wait at least one full day after testing before making purchase decisions, allowing your impressions to settle and ensuring you’re not influenced by olfactory fatigue or temporary enthusiasm.
Discover Your Perfect Fragrance Match with Confidence
Testing perfumes correctly can feel overwhelming with all the nuances of scent development and environment considerations. You want to avoid costly mistakes and truly understand which fragrance aligns with your unique chemistry and personal taste. This article highlighted key challenges like setting a neutral testing space and allowing scents time to develop so you can judge them properly.
Take the guesswork out of your fragrance journey by exploring our extensive collection of high-quality perfume samples at Befrsh.com. Our curated assortment of niche and popular scent samples lets you try before you buy with ease. Whether you want women’s, men’s, or unisex fragrances you can carefully select and test in a controlled way as recommended in the article. Plus, our convenient sample sets, travel sizes, and subscription options help you experience scents naturally and avoid impulse purchases. Start your fragrance discovery today and enjoy a confident, risk-free shopping experience.
Frequently Asked Questions
How do I prepare my testing environment for perfumes?
To create an ideal testing environment for perfumes, choose a well-ventilated room with a neutral smell, ideally between 65-75 degrees Fahrenheit. Avoid kitchens and bathrooms, and clean all surfaces to remove any lingering odors before testing.
What are the best practices for applying perfume samples?
Apply each perfume sample to different areas of your skin, such as your wrists or behind your ears, with one spray per location. Wait at least 2-3 minutes between tests to let your nose reset, and avoid rubbing your wrists together after applying.
How long should I wait to evaluate a perfume after application?
You should wait a minimum of 30 minutes to assess how a fragrance develops on your skin. This allows top notes to fade and heart notes to emerge, providing a clearer view of the scent’s true character.
What criteria should I use to compare different perfume samples?
When comparing perfume samples, evaluate them based on first impression strength, heart note appeal, longevity on skin, and how well they match your skin chemistry. Use a simple table to note these characteristics for each sample to make objective comparisons.
How can I avoid olfactory fatigue during testing?
To prevent olfactory fatigue, limit your testing session to no more than 3-4 samples at a time and allow breaks between tests. This helps ensure your sense of smell remains sharp for evaluating fragrances effectively.
When is the best time to test fragrances?
The ideal time to test fragrances is during the morning or early afternoon when your olfactory senses are the freshest. Avoid testing after cooking or during peak heat times to ensure accurate evaluations.
Jätä viesti