
Niche Perfume Sampling Workflow: Step-by-Step Guide

TL;DR:
- Proper sampling involves testing small vials over multiple wears instead of blind buying.
- Using decants, samples, and discovery sets helps build confidence before purchasing full bottles.
- Consistent evaluation and note-taking prevent regrets and reveal true scent preferences.
Blind-buying a niche perfume is one of the most expensive gambles in fragrance collecting. You spend $200 to $400 on a full bottle based on a few online reviews, and the scent arrives smelling nothing like you imagined. The sampling workflow that serious collectors use flips this entirely: source small vials, test over multiple wears, and only commit to a full bottle when you know it belongs in your wardrobe. This guide walks you through every stage of that process, from building your toolkit to making the final purchase call with total confidence.
Table of Contents
- What you need before starting: Tools and mindset
- Step-by-step sampling workflow: From cart to testing
- Testing, evaluation, and note-taking: Maximizing each sample
- Common pitfalls and troubleshooting: Getting the most out of your workflow
- A collector’s perspective: Why intentional sampling beats blind-buying every time
- Start your sampling journey with Be Frsh
- Frequently asked questions
Key Takeaways
| Point | Details |
|---|---|
| Sample before splurging | Testing niche perfumes with decants reduces expensive mistakes and regret. |
| Diverse testing methods | Multi-day wear and careful note-taking lead to confident full-bottle choices. |
| Decants and discovery sets | Mixing formats lets you explore more scents and build your fragrance wardrobe efficiently. |
| Avoid common pitfalls | Proper storage, pacing, and routine prevent olfactory burnout and maximize your sampling journey. |
What you need before starting: Tools and mindset
Before diving into the hands-on steps, it’s vital to assemble the right tools and approach your sampling journey with the proper intentions. Think of this phase as setting up a small personal laboratory. The equipment is minimal, but choosing the right pieces makes every test more reliable.
Here are the physical tools you’ll want on hand:
- Sample vials (0.5ml to 10ml): The core of your kit. Smaller vials work for quick impressions; larger ones let you do multiple full-day wears.
- Atomizers: Refillable spray bottles that let you decant liquid from vials cleanly without waste.
- Blotter strips: Paper testers that give you an immediate top-note impression before committing to skin application.
- A dedicated notebook or app: For capturing impressions right after each wear.
Understanding the cost landscape matters before you spend a single dollar. Full niche bottles run $200 to $400, while samples and decants cost just $3 to $20 per ml. Discovery sets typically run $15 to $80 and include four to twelve samples. That price gap is the entire argument for sampling first.
| Format | Typical cost | Volume | Best for |
|---|---|---|---|
| Sample vial | $3 to $10 | 0.5ml to 2ml | Quick impressions |
| Decant | $10 to $40 | 5ml to 10ml | Multi-wear testing |
| Discovery set | $15 to $80 | 4 to 12 samples | Broad exploration |
| Full bottle | $200 to $400 | 50ml to 100ml | Confirmed favorites |
The right mindset is just as important as the right tools. Approach each sample with genuine curiosity rather than trying to confirm what you already think you’ll like. Patience is essential because niche fragrances often reveal their best qualities only after an hour or two on skin. Resist the urge to judge on the first sniff.
Pro Tip: Always check seller reviews before ordering decants. Platforms with verified buyer ratings help you avoid counterfeit or poorly stored samples that will give you inaccurate impressions. Learning about the benefits of perfume samples before you start also sharpens your expectations and saves money.
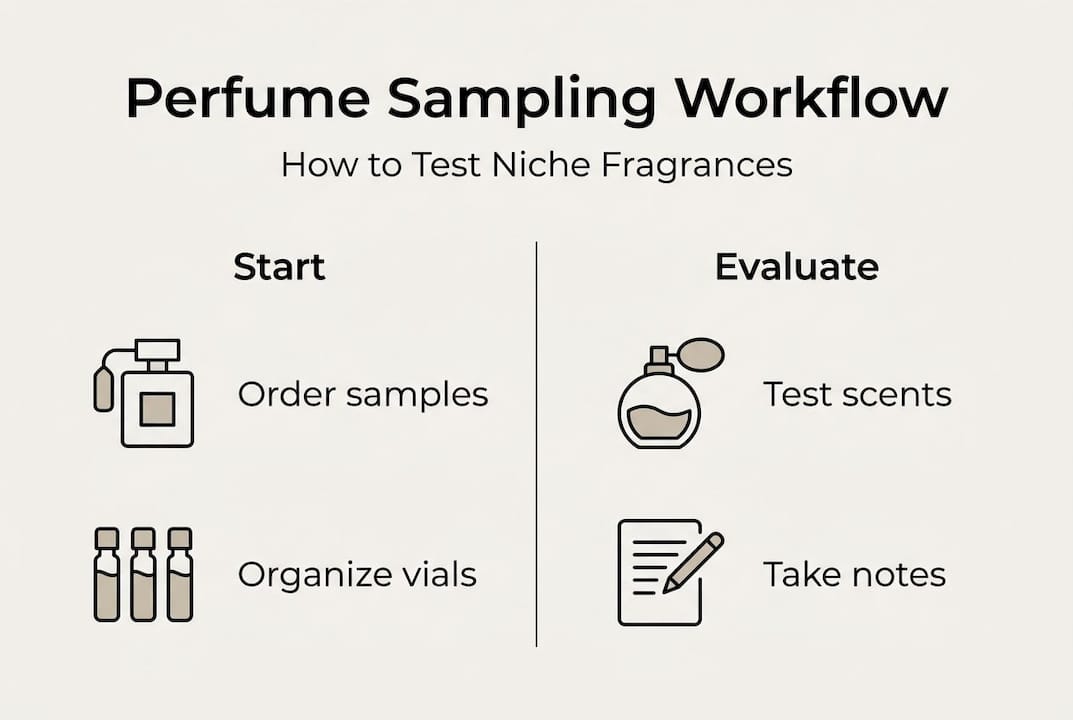
Step-by-step sampling workflow: From cart to testing
With your setup ready, follow these workflow steps to efficiently explore niche scents and make each sample count. The sequence matters. Skipping steps leads to disorganized impressions and wasted samples.
- Build your wish list. Research fragrances across forums, review sites, and brand pages. Aim for a diverse list covering different scent families (woody, floral, oriental, fresh) so each order teaches you something new.
- Select your sample types. Mix decants, brand samples, and discovery sets. Each format has different strengths (see comparison table below).
- Verify the seller. Check review scores, return policies, and whether the seller sources directly from bottles rather than other decants. Authenticity matters.
- Place your order. Group samples strategically. Ordering five to eight at a time gives you enough variety without overwhelming your senses.
- Receive and inspect. When the package arrives, check for leaks, proper labeling, and fill levels. A reputable seller packages samples securely.
- Label everything immediately. Use a marker or label tape. Memory fades fast, and unlabeled vials become useless within days.
- Prepare your testing schedule. Assign one scent per day. This is the multi-wear testing method that collectors rely on for accurate impressions.
| Type | Source | Volume | Niche access | Cost |
|---|---|---|---|---|
| Decant | Community seller | 5ml to 10ml | Very broad | Moderate |
| Brand sample | Retailer or brand | 1ml to 2ml | Limited | Low or free |
| Discovery set | Brand or retailer | 4 to 12 vials | Curated | $15 to $80 |
Pro Tip: Mix all three sample types in your first order. Decants give you depth; brand samples introduce you to houses; discovery sets show you curated narratives. Together, they build a well-rounded sampling experience that accelerates your scent education.
Testing, evaluation, and note-taking: Maximizing each sample
Once your samples are organized, the next step is extracting the full value from each test by following a consistent evaluation process. Inconsistent testing is the number one reason enthusiasts end up with bottles they regret buying.
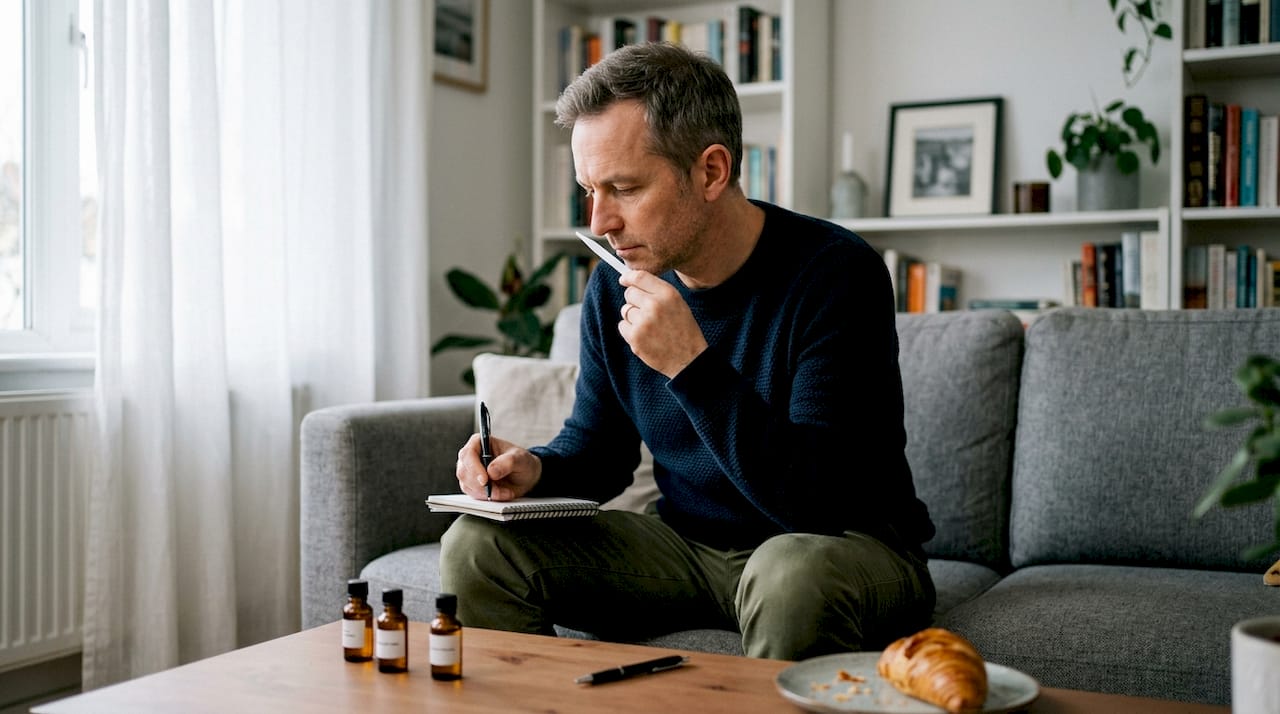
Start with a blotter test to capture the opening notes. Then apply the scent to your inner wrist and check back at 30 minutes, two hours, and four hours. Each checkpoint tells a different story. The opening might be sharp and citrusy, while the dry-down (the scent’s final settled phase after the top notes fade) reveals the true character of the fragrance.
Wear each sample on at least two separate days before forming a firm opinion. Skin chemistry, humidity, and even your mood affect how a scent registers. One bad day can make a great fragrance seem flat.
Evaluate each sample against these criteria:
- Longevity: How many hours does the scent remain detectable on your skin?
- Sillage: The trail or projection the fragrance leaves around you. Does it stay close or announce itself?
- Scent evolution: Does the fragrance change interestingly from top to base notes, or does it smell the same throughout?
- Versatility: Can you imagine wearing this to work, on a date, or in different seasons?
- Emotional response: Does it make you feel confident, relaxed, or energized?
“Collectors reduce blind-buy risk, enabling wardrobe building from samples to full bottles, and prefer decants over brand samples for broader niche access.”
Note-taking is non-negotiable. Write your impressions immediately after each wear while the scent is still on your skin. Over time, your notes become a personal reference that reveals patterns in your taste. You’ll start noticing that you consistently love vetiver-heavy bases or always reach for something light in summer. That self-knowledge is what turns sampling into a real collection-building practice.
Common pitfalls and troubleshooting: Getting the most out of your workflow
Even with a solid workflow, a few missteps can sabotage the learning experience. Steer clear of these common issues for flawless exploration.
The biggest trap is olfactory fatigue, which is when your nose becomes temporarily desensitized after smelling too many scents in a row. Testing five fragrances back to back on a single afternoon means your impressions of the last two or three are nearly worthless. Sniff coffee beans or your own skin between samples to reset, but honestly, the better fix is spacing tests out.
Here are the most common pitfalls and how to avoid them:
- Over-testing in one session: Limit yourself to two or three samples per day maximum. Your nose deserves recovery time.
- Ignoring storage conditions: Heat and sunlight degrade fragrance compounds fast. Store all samples in a cool, dark drawer or box.
- Testing right after a meal or coffee: Strong food smells temporarily distort your scent perception. Wait at least 30 minutes.
- Letting hype override your senses: A fragrance with thousands of glowing reviews might genuinely not suit your chemistry. Trust your own nose.
- Holding on to samples you dislike: If a scent consistently fails your criteria after three wears, move on. Your time and nose space are finite.
Knowing when to stop sampling and commit to a purchase is its own skill. When a sample consistently scores high across longevity, sillage, and emotional response, and you find yourself reaching for it repeatedly, that’s your signal. Remember, full niche bottles cost $200 to $400, so that moment of certainty is worth waiting for.
Pro Tip: Set a personal rule of no more than three new samples per week. This keeps your senses sharp and gives each fragrance the attention it deserves. Explore the perfume discovery process to understand how structured sampling reduces buyer’s remorse significantly.
A collector’s perspective: Why intentional sampling beats blind-buying every time
Here’s something the fragrance hype machine won’t tell you: most blind-buy regrets come not from bad fragrances but from mismatched expectations. A scent can be objectively beautiful and still be completely wrong for your skin, your lifestyle, or your personality. No review, no matter how detailed, can predict that.
Seasoned collectors know that the satisfaction of wearing a scent you chose after thorough testing is fundamentally different from wearing one you gambled on. The tested choice feels personal. It reflects your actual taste rather than someone else’s enthusiasm.
The sampling workflow also teaches you things about yourself that no amount of reading can. You learn which scent families you gravitate toward, which notes feel like home, and which ones you admire intellectually but never actually want on your skin. That self-knowledge is genuinely valuable and it compounds over time.
Every sample you test is progress, even the ones you dislike. Especially the ones you dislike. Building a wardrobe through intentional sampling means every bottle you eventually buy earns its place. The buyers’ remorse reduction that comes with this approach isn’t a side benefit. It’s the whole point.
Start your sampling journey with Be Frsh
Ready to put your sampling workflow into action? Take the next step with support from fragrance experts.
At Be Frsh, we’ve built our entire catalog around the idea that you should never have to guess what a fragrance smells like before buying it. Our curated selection of discovery sets, decants, and travel-size bottles gives you everything you need to run a proper sampling workflow from your first order. Whether you’re just starting out or refining a collection you’ve built over years, we have options that match your pace. Learn more about sampling and explore our guides to make every fragrance decision one you’ll be proud of.
Frequently asked questions
How much do niche perfume samples typically cost?
Niche perfume samples usually range from $3 to $20 per ml, and discovery sets average $15 to $80 for several samples, making them a fraction of the cost of a full bottle.
What is the best way to test niche perfume samples?
Apply each sample on your skin and wear it for several hours, then repeat over multiple days to fully experience how the scent evolves from opening to dry-down.
Why do collectors prefer decants over official brand samples?
Decants give collectors access to a far wider range of niche fragrances and enough volume for thorough multi-wear testing, which is why they reduce blind-buy risk so effectively compared to the limited official samples brands provide.
How many wearings should I do before deciding on a full bottle?
Aim for at least three separate wearings across different days and situations to ensure the scent consistently performs well on your skin and genuinely fits your lifestyle.